Good news: the film kicks. Hardcore. Eerie, creepy, and unsettling, all within 7 or so minutes.
Bad news: more and more CG is being cut from it. While I 100% agree with the decision, it seems that the CG head is no longer necessary for the movie. Therefore, I plan to finish the head and do some sort of project with it for my own experience.
The CG fly shot remains. I need to add flies buzzing around a bloody foot locker. Modeling flies now, will add progress of that shortly. For now, please amuse yourself with our FX test for the CG head. The first clip shows the background plate and CG element without any compositing. The second clip shows the finished test, comped by Joe Grochocki (jgrochocki57@aol.com). Enjoy.
Tuesday, April 24, 2007
Tuesday, March 06, 2007
HDR
So I've been playin' with HDR rendering for the past few days. Scouring internet for tutorials, piecing together information from my 3D lighting book... etc. I want to be able to replicate lighting conditions on set. It's been tough, but I think I'm making progress. Since using HDR isn't just an option in the program, it's actually a new way of using the tools that were already there, I've been forced to delve into the world of Final Gather and global illumination. It's been very good to me so far. 2 problems:
--When I use the GI lighting, I can't see my specular highlights, and it makes the character look too "soft" or mushy.
--When the head is translated (for example, rotated) the shadows seem to jump around as if they were actually a super low rez shadow map.
Nevertheless, I'm confident these will be overcome and that this will end up looking really badass.


Tuesday, February 27, 2007
No One head
So I've experienced what many artists in the industry experience... dramatic changes in production after a large time investment has already been made.
Columbia College does not believe in using a 3D solution for the effect, so it has been toned down.
Severely.
No need for 3D at all, in fact. What the actual effect will really look like is to be determined in the near future. Now, what to do with the work that I already did. After all, I researched HDR image lighting, took my first steps into the wonderful world of Mudbox, and have created a head for which I outlined a whole pipeline, from concept art through modeling, texturing, rigging, camera tracking, compositing...
I briefly considered dropping the project and starting something new. But I'm going to take this poor fellow under my wing now, and nurse him to completion.
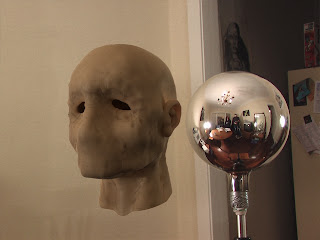
The first image below is the result of an evening's worth of Mudbox modeling, output as a displacement map, rendered in Max with mental ray. The following two are the same model with a Subsurface Scattering shader applied and no textures.
Isn't he adorable? How could I let him languish somewhere on my hard drive?
By the way: here is an excellent SSS tutorial:
http://usa.autodesk.com/adsk/servlet/item?siteID=123112&id=7445229&linkID=5573440


Columbia College does not believe in using a 3D solution for the effect, so it has been toned down.
Severely.
No need for 3D at all, in fact. What the actual effect will really look like is to be determined in the near future. Now, what to do with the work that I already did. After all, I researched HDR image lighting, took my first steps into the wonderful world of Mudbox, and have created a head for which I outlined a whole pipeline, from concept art through modeling, texturing, rigging, camera tracking, compositing...
I briefly considered dropping the project and starting something new. But I'm going to take this poor fellow under my wing now, and nurse him to completion.
The first image below is the result of an evening's worth of Mudbox modeling, output as a displacement map, rendered in Max with mental ray. The following two are the same model with a Subsurface Scattering shader applied and no textures.
Isn't he adorable? How could I let him languish somewhere on my hard drive?
By the way: here is an excellent SSS tutorial:
http://usa.autodesk.com/adsk/servlet/item?siteID=123112&id=7445229&linkID=5573440


Monday, February 26, 2007
Woman on Street Hallucination VFX test
Test of a hallucination the protagonist experiences while walking down the street. This effect may end up being accomplished via simple editing, but I decided to give it a shot and see what production thinks about it.
To create the head "jitter" I took something like two dozen still frames of the talent with various head positions, then chose 5 or 6 of the best ones, which were then tweaked in Photoshop and then imported into Combustion for compositing.
To create the head "jitter" I took something like two dozen still frames of the talent with various head positions, then chose 5 or 6 of the best ones, which were then tweaked in Photoshop and then imported into Combustion for compositing.
Flies
In the script, a swarm of flies hovers around a dead dog. I wanted to test out an effect that would eliminate the need to have a million flies on set.
The video presents VFX flies added to a still image. Created with PFlow particle system in 3ds max using a simple still image with an alpha channel of a fly. If production decides to go down this road, I can put more time into it and create an even more convincing swarm, perhaps using Character Studio's crowd system.
The video presents VFX flies added to a still image. Created with PFlow particle system in 3ds max using a simple still image with an alpha channel of a fly. If production decides to go down this road, I can put more time into it and create an even more convincing swarm, perhaps using Character Studio's crowd system.
Video Background Plate
Simple VFX proof of concept background plate shot on mini DV. Shows the camera movement and talent positioning in the final shot.
Work on practicum film.
One of my major projects now is work on a practicum film at Columbia College. The big moneyshot is a scene where a man looks up into a mirror and sees a noseless, mouthless face with black holes for eyes staring back.
I'm going to use many techniques I haven't tried before, such as Mudbox modeling, Subsurface Scattering, and HDR lighting to get as realistic and professional of an effect as possible.
Included in the post is several test renders of very early stages of the modeling process.


I'm going to use many techniques I haven't tried before, such as Mudbox modeling, Subsurface Scattering, and HDR lighting to get as realistic and professional of an effect as possible.
Included in the post is several test renders of very early stages of the modeling process.


New Things...
Well! I've been rather lazy with updating my blog lately. I have been keeping busy however. I am working on VFX for a music video, a practicum film, and a shot or two for the benefit of my reel. I shall return.
Friday, November 10, 2006
Rubble Rubbish and Polygons
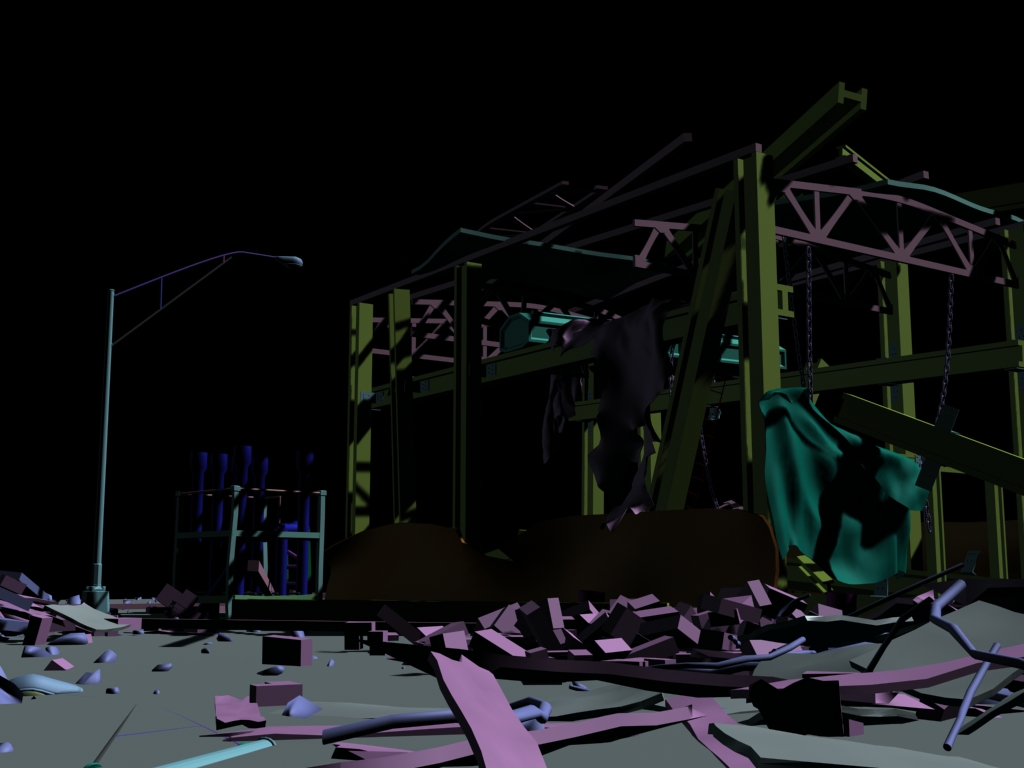
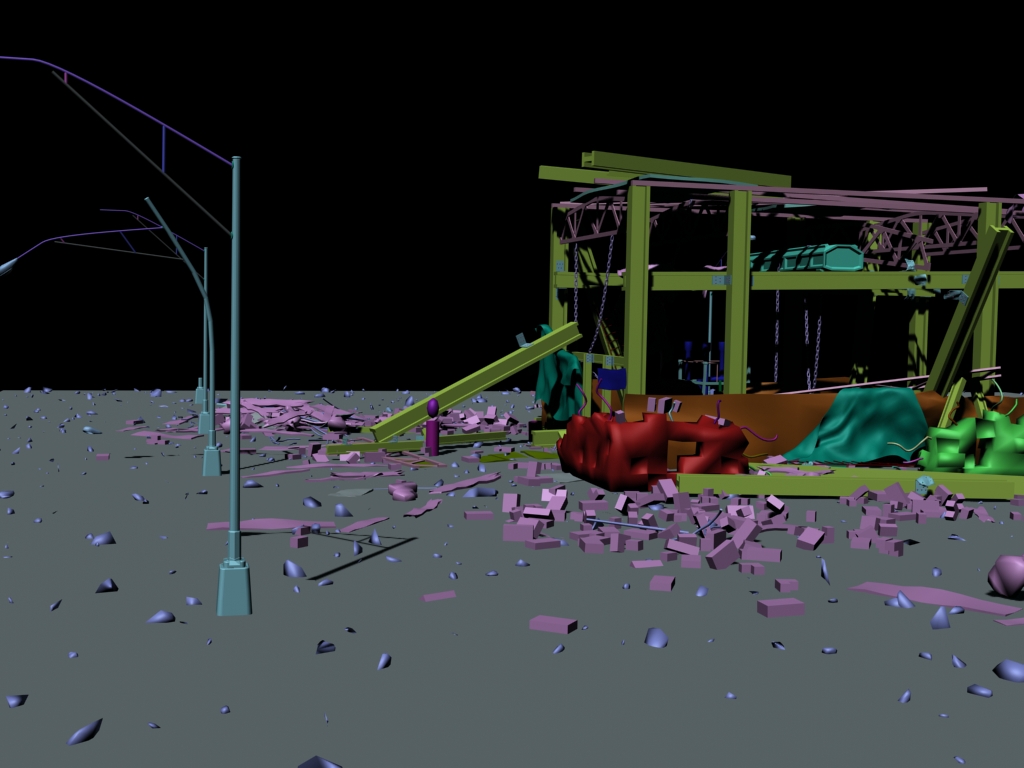
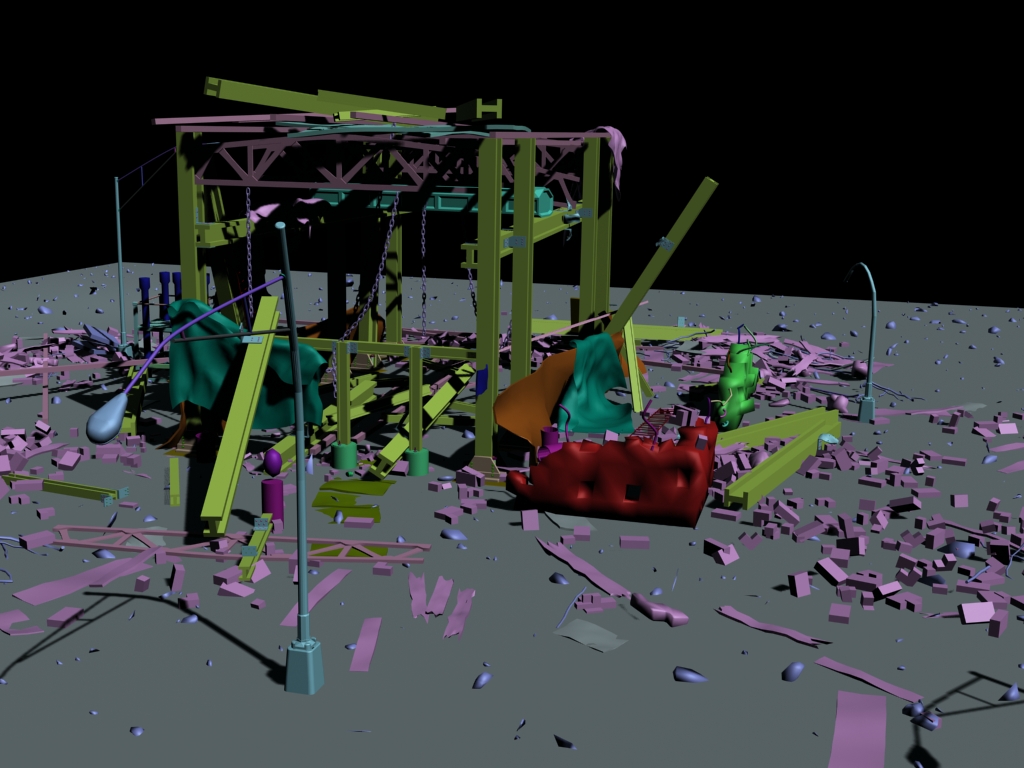

Work on factory continues. Added details. Check out pics. Figured out a good workflow for the rubble, too, which I'm proud of. After studying the ref pics I concluded there are actually only about 5 kinds of debris. I then modeled about 5 versions of each and set up a workspace in max where I could pluck from each group, then drop it to the ground using reactor, save it out and import into my factory scene. Yay.
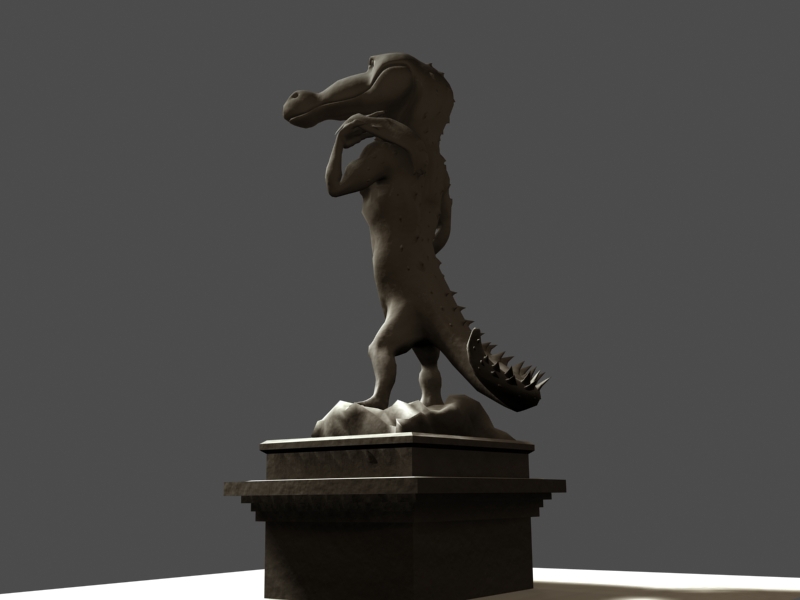
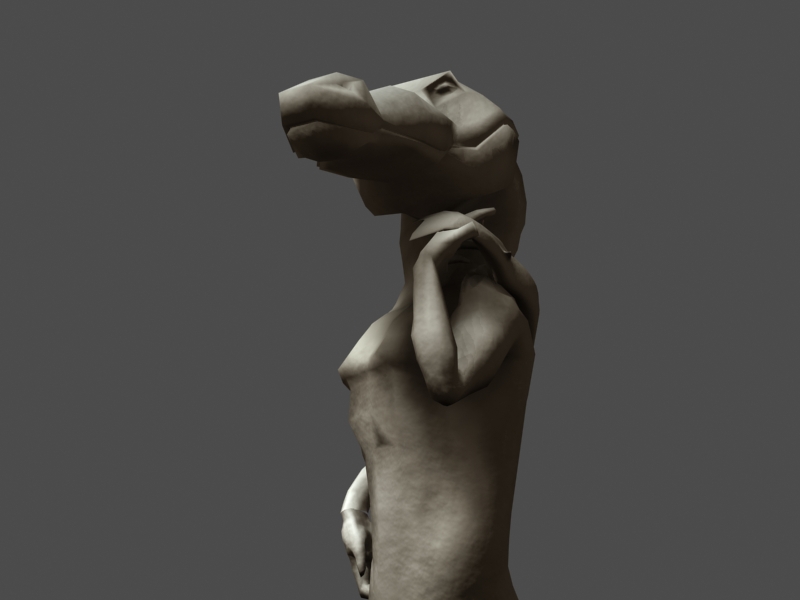
And a few more pics of David Croc, just in case you're interested. I'm gonna UV the sucker now and bump map him.

And this isn't necessarily the hugest thing for this class, but I've started learning Bodypaint 3D (out of necessity) and I can say I'm enjoying it greatly. I've successfully exported from Maya, UVed a character in max, imported into BodyPaint, created a texture, exported the model and texture into Maya, and still had it perfectly line up to copy skin weights and all that. May not seem like a big deal... but that's as complicated a transfer as I've ever done.
Friday, November 03, 2006
Factory and other small things...
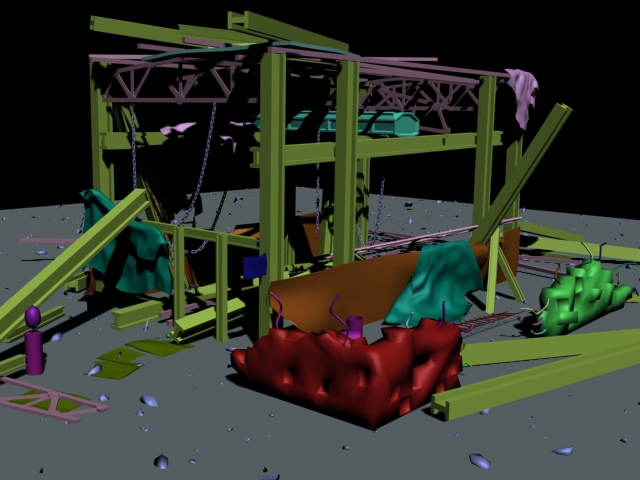
The new factory. More detail, starting work on the ground. I shot a lot of reference of the burned down house across from Columbia so I'm going to model some pipes, and other small things that occur to me.
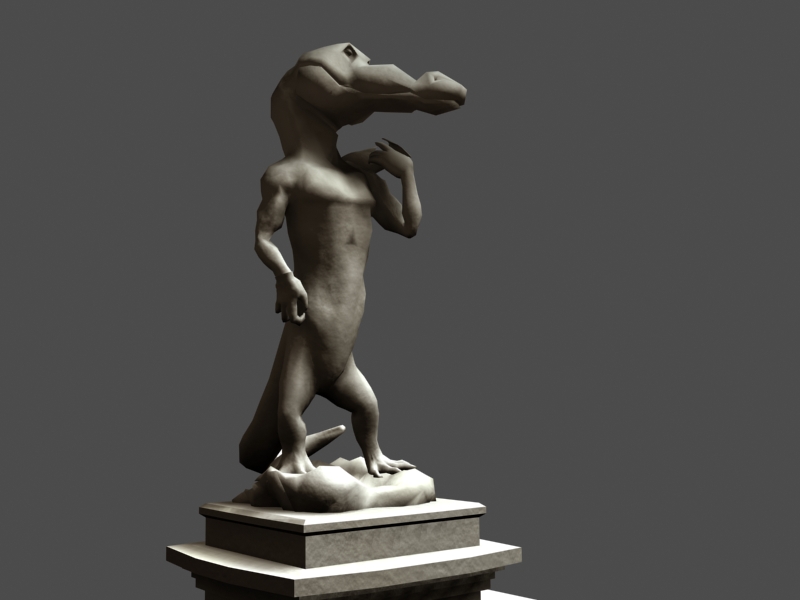
Here are two other things I'm been tinkering with also. The first set is a statue (work in progress of course) of a croc in the pose of David. It's for the Animation Production Studio project our class is working on.

And then there is a pumpking that I did for the hell of it. This is a slightly older render but it's the best I have on this computer right now:
I then booleaned out my boss's face into the pumpking to the amusement of coworkers.
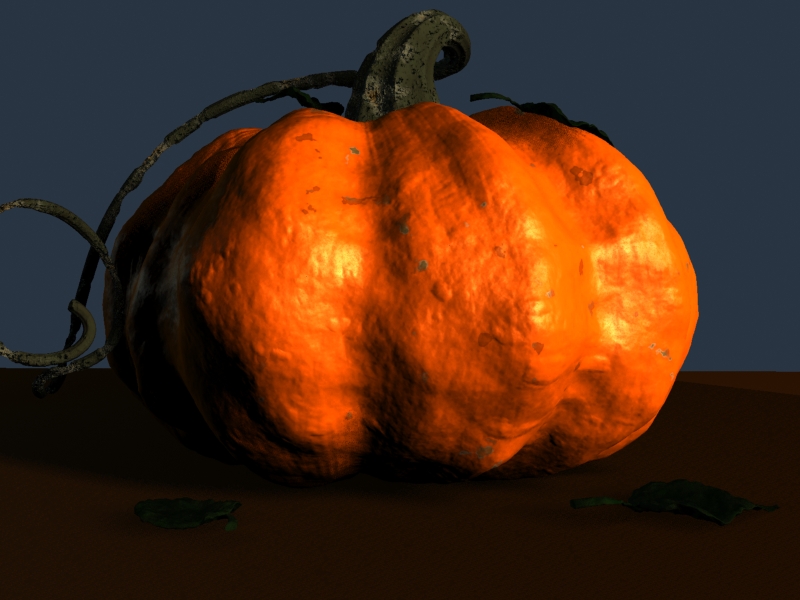
Maybe I'll post that at a later date...
Friday, October 20, 2006
factory
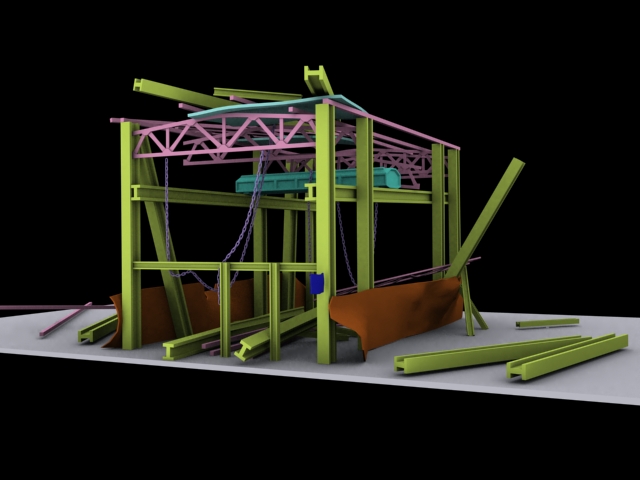
Yo yo, here is the factory I've mentioned. Haven't gotten around to adding the hanging tarps yet but it's getting there.
As far as the new ideas to beef up my reel, I've got 3-
1.) Shoot background footage (of street or sidewalk or whatever) and track in voodoo or Boujou or something. I have a particle system that I made that spews out snowballs and smashes them on the pavement, creating pieces of snow that themselves get smashed, etc. It looks nice, and I think I could get it to look cool in live action footage without too much effort.
The next two ideas would be repurposed tutorials. I don't know what the professional opinion is of including work that was produced from tutorials in demo reels, but I assume that if somebody noticed a piece and thought, "Hey, that was a tutorial in 3D World from September!" that potential employer would be screwed. So I found two tutorials that I could do, then get my own footage and create my own work based closely on the steps that I learned. Here are the tutorials:
2.) http://www.computerarts.co.uk/tutorials/premium_content/3d__and__animation/the_war_zone,_part_three
That's the link to part 3 of this tutorial, parts 1 and 2 are also on this site. Basically an effects shot of a devastated building.
3.) http://www.cgarena.com/freestuff/tutorials/autumnchallenge/raindrops/index.html
Realistic wet branch. The artist uses VRay, which I have no access to, but I assume I'd be able to replace that with Mental Ray.
Thursday, October 12, 2006
New Building!
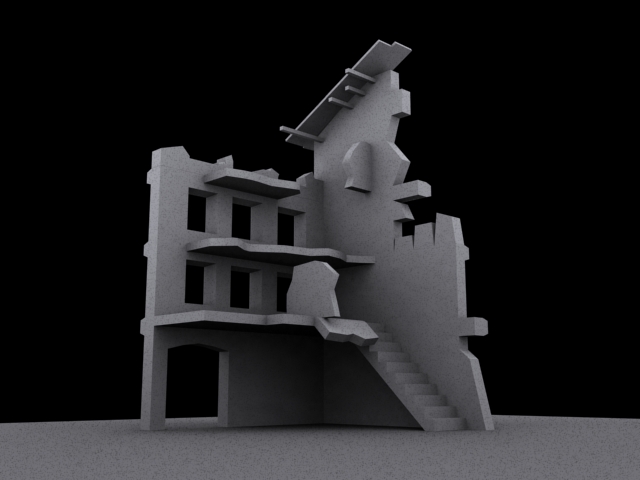
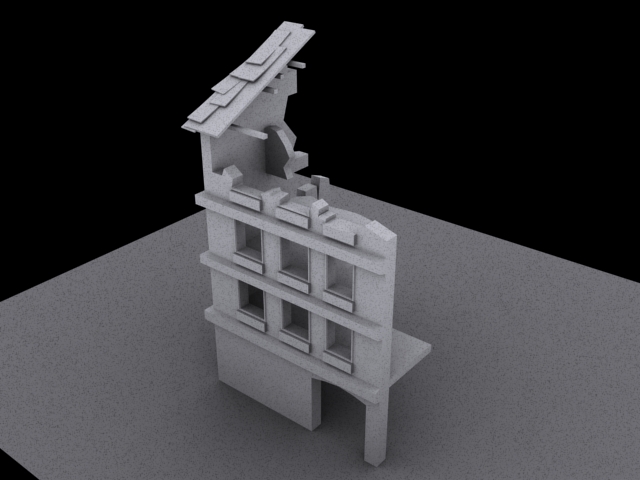
The Zbrush tutorials will be especially helpful. I generated this building (based on a photo of a physical model from the internet) with the Zbrush tutorial in mind. Other than this, I'm going to model a metallic structure (like a run down, skeleton of a factory) and several piles of rubble. Then modelling will be done.
Wednesday, October 11, 2006
Reference Photos and Textures
Spent several hours on Sunday driving around with the director of the movie and a buddy of ours getting photos of rubble, bricks, grime on walls, concrete, etc etc etc. In all, just under 200 shots at 7 megapixels. Thank God for digital photography. Other than the domed structure, I'm going to model a ruined building and a rusty, metallic factory type structure--as per the director's instructions that it should be a more industrial zone. This will work to my advantage, as I'll be able to add rusty piping and various ruined metallic pieces littered around the place. I think it will add to the "coldness" of the scene.
Tuesday, October 03, 2006
Displacement Continues...

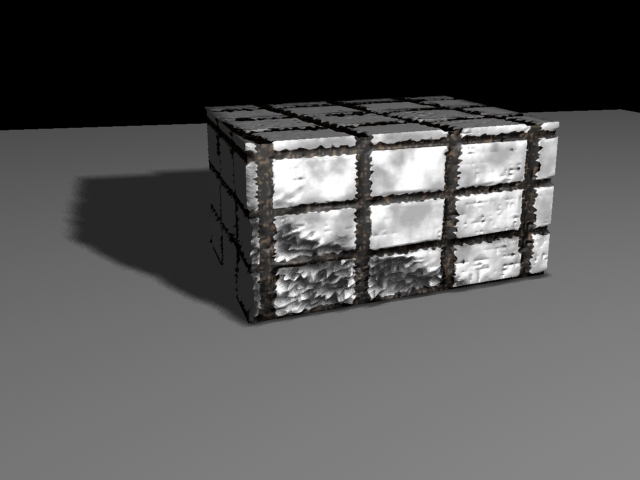
As per my mentor's suggestions, I have cut ZBrush out of my pipeline and tested out Photoshop and Max to create displacements. The cube image is a result of this. Nothing terribly impressive, but it proved several things for me: 1.) I can easily combine displacement and bump and textures, both procedural and bitmap, and 2.) that via photoshop, I can more easily align the photo textures with the displacement, resulting in more accurate mapping, and 3.) mental ray can handle displacement quite well. It's also easier because I don't need to export and import into another app.
*sigh*
So I suppose that's the way I'm gonna have to go.
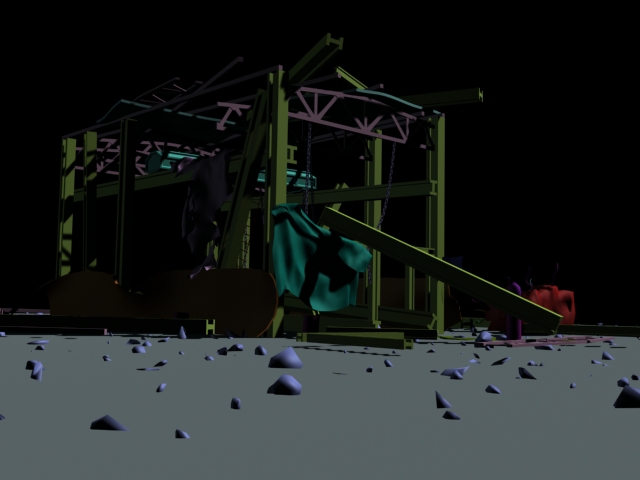
As for lighting reference, that's the second image. It will be a bluish, night-time tint, although probably more contrasty than this shot (brighter illumination).
Monday, October 02, 2006
Zbrush
Currently working out the kinks with ZBrush in my pipeline. Will upload new images shortly. Right now I model lo-rez in Max, export to Zbrush, create displacement, go back to max, texture (in theory... I'm still at the "create displacement" step). However, I'm wondering if it'd be better to create the textures first, then go into Zbrush and do displacement. I'm going to test out both variations.
Ossolinski Palace first model
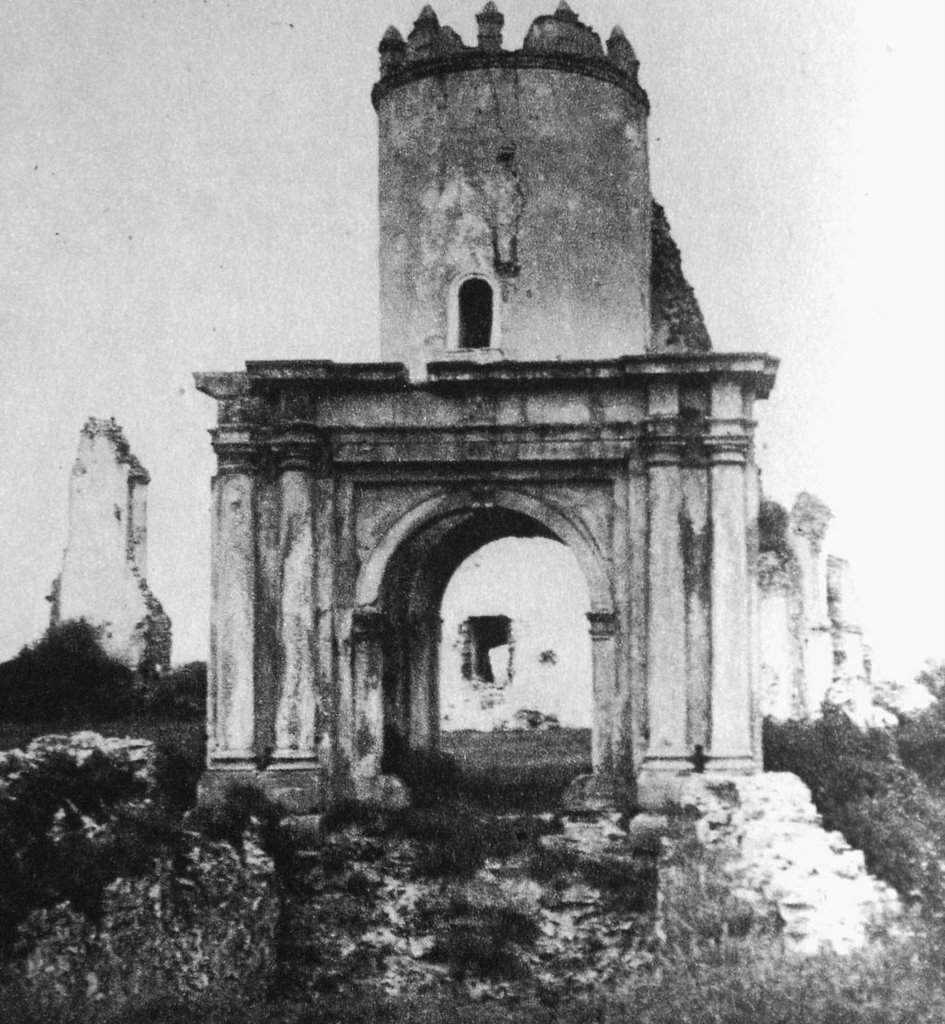
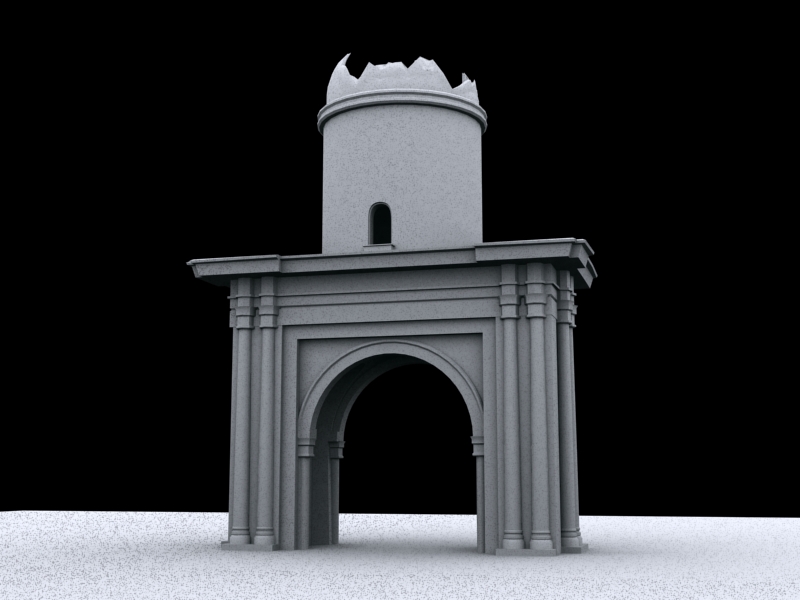
So begins the first round of modeling for my ruined background plates. It depicts a portion of a ruined palace. I wanted to get it as close the original photo (seen as the first image) as possible but I did not religiously follow it. I now plan on exporting it to ZBrush and painting in some cracks, bullet holes, and other miscellaneous destruction. This will be an interesting exersize since I've never used ZBrush for a project before... only done a few tutorials with it thus far. I plan on using it to add some decent detail but will not go crazy with it as I plan on adding the finest detail level with hi-rez textures.
As the original photo is quite blurry and grainy, I will use other reference of battle damage to rough this up. Like I said, I don't plan on following any single image to the dot.
Wish me luck!
Subscribe to:
Posts (Atom)