Friday, October 20, 2006

factory


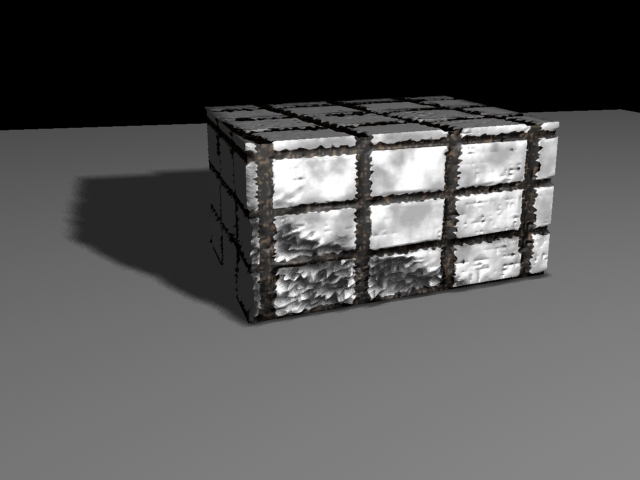
Yo yo, here is the factory I've mentioned. Haven't gotten around to adding the hanging tarps yet but it's getting there.
As far as the new ideas to beef up my reel, I've got 3-

1.) Shoot background footage (of street or sidewalk or whatever) and track in voodoo or Boujou or something. I have a particle system that I made that spews out snowballs and smashes them on the pavement, creating pieces of snow that themselves get smashed, etc. It looks nice, and I think I could get it to look cool in live action footage without too much effort.

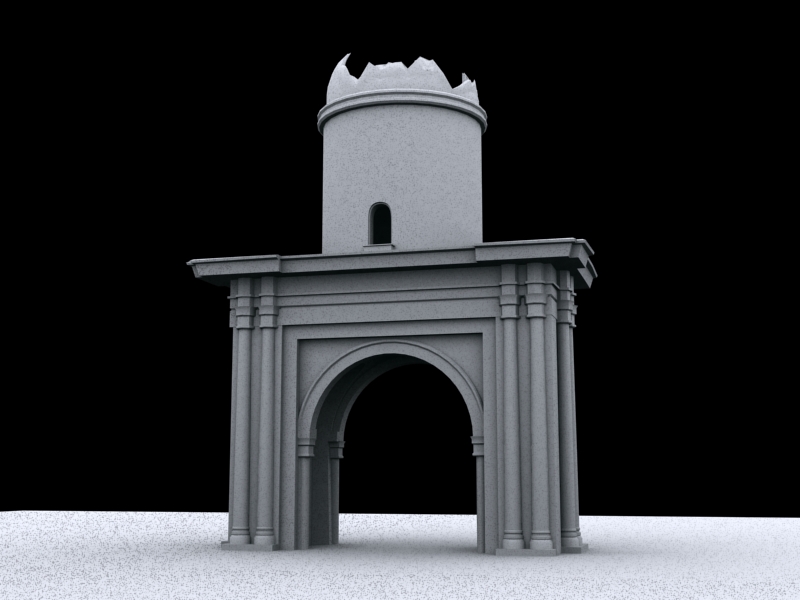
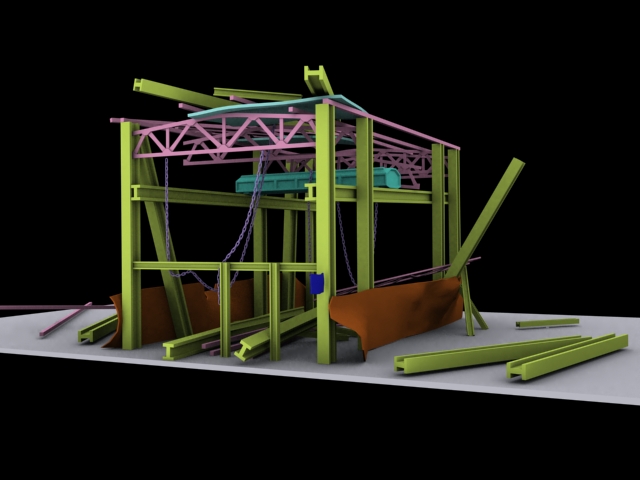
The next two ideas would be repurposed tutorials. I don't know what the professional opinion is of including work that was produced from tutorials in demo reels, but I assume that if somebody noticed a piece and thought, "Hey, that was a tutorial in 3D World from September!" that potential employer would be screwed. So I found two tutorials that I could do, then get my own footage and create my own work based closely on the steps that I learned. Here are the tutorials:

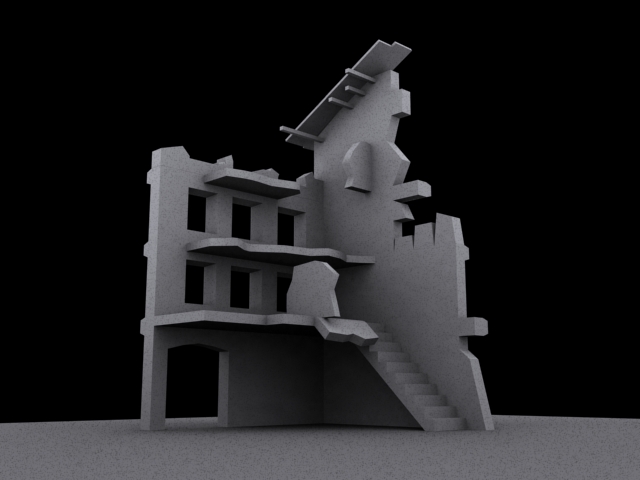
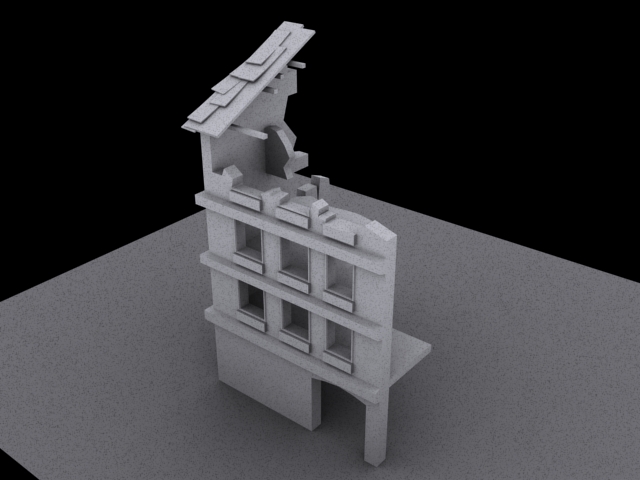
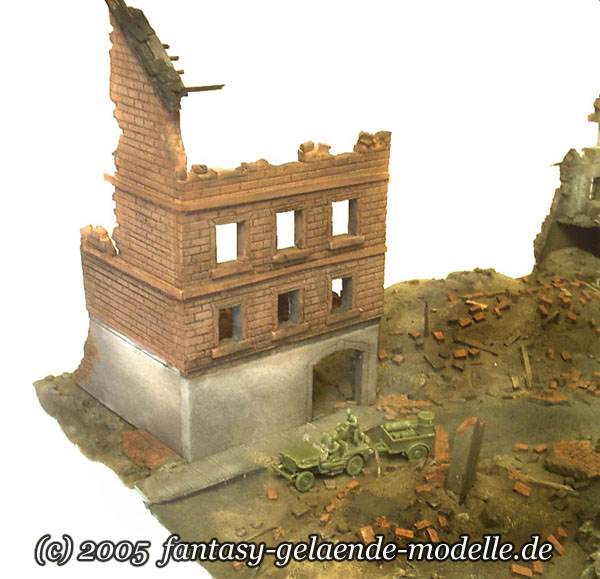
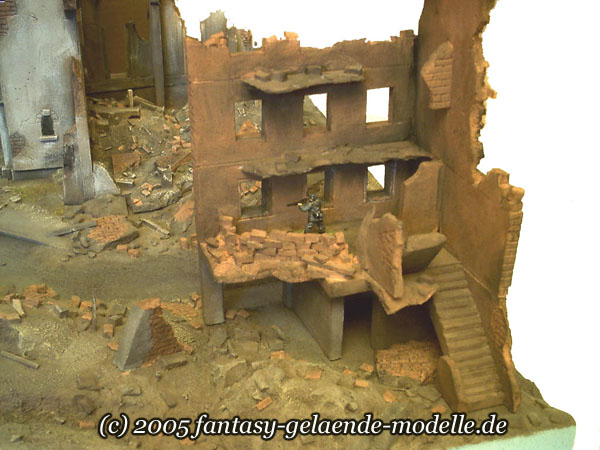
2.) http://www.computerarts.co.uk/tutorials/premium_content/3d__and__animation/the_war_zone,_part_three

That's the link to part 3 of this tutorial, parts 1 and 2 are also on this site. Basically an effects shot of a devastated building.

3.) http://www.cgarena.com/freestuff/tutorials/autumnchallenge/raindrops/index.html

Realistic wet branch. The artist uses VRay, which I have no access to, but I assume I'd be able to replace that with Mental Ray.

Thursday, October 12, 2006

New Building!


The Zbrush tutorials will be especially helpful. I generated this building (based on a photo of a physical model from the internet) with the Zbrush tutorial in mind. Other than this, I'm going to model a metallic structure (like a run down, skeleton of a factory) and several piles of rubble. Then modelling will be done.

Wednesday, October 11, 2006

Reference Photos and Textures

Spent several hours on Sunday driving around with the director of the movie and a buddy of ours getting photos of rubble, bricks, grime on walls, concrete, etc etc etc. In all, just under 200 shots at 7 megapixels. Thank God for digital photography. Other than the domed structure, I'm going to model a ruined building and a rusty, metallic factory type structure--as per the director's instructions that it should be a more industrial zone. This will work to my advantage, as I'll be able to add rusty piping and various ruined metallic pieces littered around the place. I think it will add to the "coldness" of the scene.

Tuesday, October 03, 2006

Displacement Continues...


As per my mentor's suggestions, I have cut ZBrush out of my pipeline and tested out Photoshop and Max to create displacements. The cube image is a result of this. Nothing terribly impressive, but it proved several things for me: 1.) I can easily combine displacement and bump and textures, both procedural and bitmap, and 2.) that via photoshop, I can more easily align the photo textures with the displacement, resulting in more accurate mapping, and 3.) mental ray can handle displacement quite well. It's also easier because I don't need to export and import into another app.
*sigh*
So I suppose that's the way I'm gonna have to go.

As for lighting reference, that's the second image. It will be a bluish, night-time tint, although probably more contrasty than this shot (brighter illumination).

Monday, October 02, 2006

Zbrush

Currently working out the kinks with ZBrush in my pipeline. Will upload new images shortly. Right now I model lo-rez in Max, export to Zbrush, create displacement, go back to max, texture (in theory... I'm still at the "create displacement" step). However, I'm wondering if it'd be better to create the textures first, then go into Zbrush and do displacement. I'm going to test out both variations.

Ossolinski Palace first model


So begins the first round of modeling for my ruined background plates. It depicts a portion of a ruined palace. I wanted to get it as close the original photo (seen as the first image) as possible but I did not religiously follow it. I now plan on exporting it to ZBrush and painting in some cracks, bullet holes, and other miscellaneous destruction. This will be an interesting exersize since I've never used ZBrush for a project before... only done a few tutorials with it thus far. I plan on using it to add some decent detail but will not go crazy with it as I plan on adding the finest detail level with hi-rez textures.
As the original photo is quite blurry and grainy, I will use other reference of battle damage to rough this up. Like I said, I don't plan on following any single image to the dot.
Wish me luck!